Bread Making 101 — Boring? Not in the ‘y-east’!
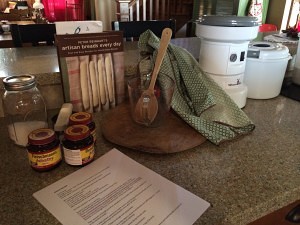
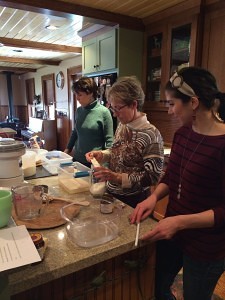
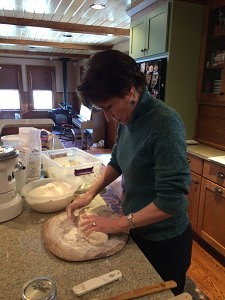
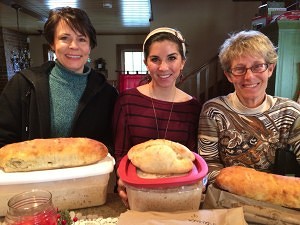
Today a few dear friends of mine gathered on Selah Farm for a time of bread making and fellowshipping. What a sweet time! (Who says “class” is boring?!)
After a few explanations and some “overview” regarding the health benefits of such bread, we got down and dirty — flour-smudges on our faces and hands ooey- gooey in dough! What could be better on a Saturday!!!
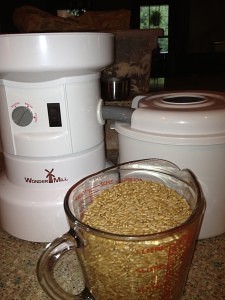
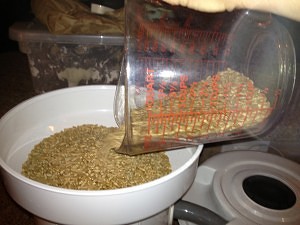
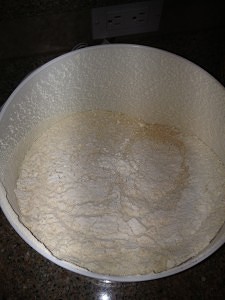
I showed the gals how to grind grain with our wonderful grinder by Wonder Mill. So easy!
After we had white wheat flour and red wheat flour to work with, along with all-purpose bleached white flour, we were ready to start making dough!!!
All you need are :
a medium sized (non-airtight) plastic container — preferably with clip-locks on each end. (Can be found at Dollar Generals, etc.)
wooden spoon
liquid measurer
1 cup dry measuring cup
teaspoons / Tablespoons
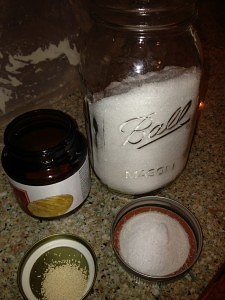
yeast
coarse sea salt
flour (can use a blend for different textures / tastes)
pizza stone or cookie sheet
oven
Measure 3 cups of lukewarm water and pour directly into your plastic container.
Then measure 1 T. and 1 1/2 t. yeast (dry active) and pour into water. Stir to dissolve.
Measure 1 T. and 1 1/2 t. coarse sea salt and add to water / yeast mixture. Stir to dissolve.
Add 6 1/2 cups of flour (can use a blend of white wheat and bleached all-purpose flour or all of one; just changes consistency depending on what you use).
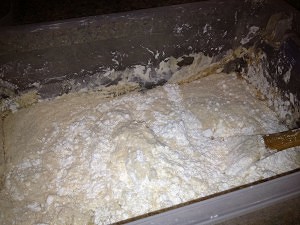
Mix till well blended in plastic container.
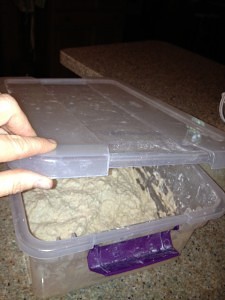
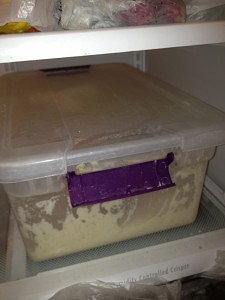
Latch one of the clips on the container (leaving the other one open) and set the dough to rise in a warm, dark place for approx. 1 1/2 – 2 hrs.
After dough has risen (and it will considerably!), store for approx. 24 hrs. in the refrigerator before making bread. (Don’t want plastic container air-tight, so only latch one of the clips!) This dough will keep for 2 weeks in the frig. The fermentation that takes place adds to the health benefit of this bread. In the fermentation process of this “sour dough-type bread”, phytase (an enzyme that helps to break down anti-nutrient phytic acid which is present in grains, seeds and beans) is activated — helping one’s body keep necessary and important nutrients and aiding in digestion. (There are many good websites where one can learn more about such health benefits. Just type “health benefits of sour dough bread” in your search engine.)
After approx. one day…
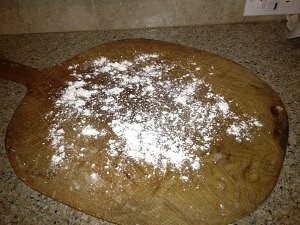
Remove the dough from the frig. Flour a wooden (or other) flat board or surface.
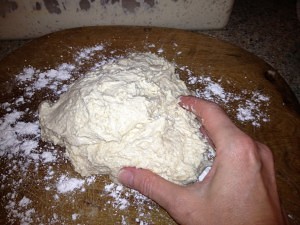
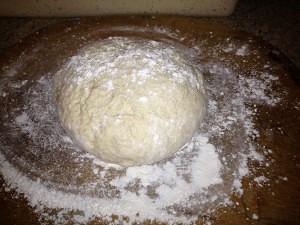
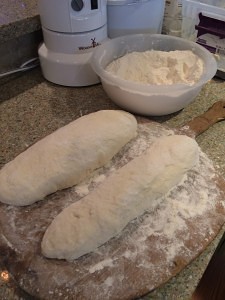
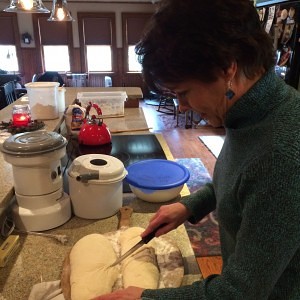
Break off or cut with scissors the desired amount of dough. May need to add a little bit more flour for easy shaping. (Some of this you’ll learn as you work more and more with the dough! It’s a ‘touchy-feely’ thing!) Work the dough into the desired shape — a bowl or a flute. Try not to overwork.
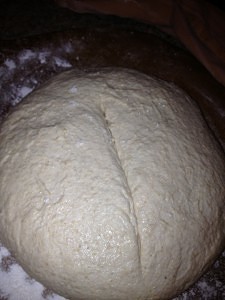
Bowl (great for soup!) or…
… flutes! (Great for spaghetti or lasagna!)
Cover your shaped dough with a tea towel and set in a dark, warm spot for about 40 min. (After about 20 min. I begin to preheat my oven — set at 450 degrees!)
Return the dough container to the frig. (Remember: Don’t latch both clips but just one. You can use this batch for up to 2 weeks!)
Let me say here that, if you have enough frig space for a larger container, you can double this recipe (just double all the above ingredients). I find that the regular recipe makes approx. 3-4 loaves and the doubled recipe makes 6-8, depending on the size.
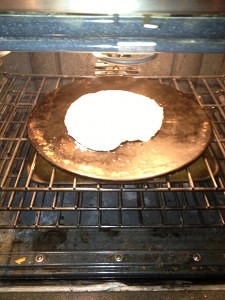
After 40 min., your dough will have risen and your oven will be HOT! Make sure you have a stone or cookie sheet IN THE OVEN while it heats. You want to place your dough on a HOT surface! (Very important!)
Cut one long or 2-3 short slits into the top of your dough.
Place the dough on the HOT stone or cookie sheet in the 450 degree preheated oven. AND…
Throw into the oven (avoid hitting the bread dough!) 3 ice cubes! Close the door IMMEDIATELY! (The water creates steam and helps moisten the bread!)
Set your timer for approx. 20 min. Test for doneness with a knife inserted into the middle, and if not quite done, place back into the oven for a few more minutes. For a regular size loaf / bowl, 20-25 min. is just about right.
Remove from the oven.
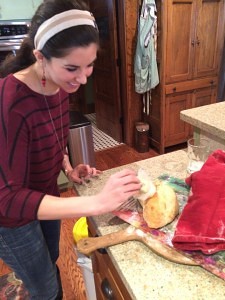
Rub butter on the top of the hot loaf / loaves!
Allow to cool for 15 min. or so. Keep in mind, the bread will continue to cook slightly as it sits. When ready, cut into desired slices and enjoy!!!
I love my wonderfully silly friends!
Mmmmm! Enjoy!!!
Leave a Reply
You must be logged in to post a comment.






1 Comment
Sherry
February 9, 2014I love making bread! I will have to try your recipe. Thanks for sharing.