Creating a Sky Light Cover Fit for a Princess
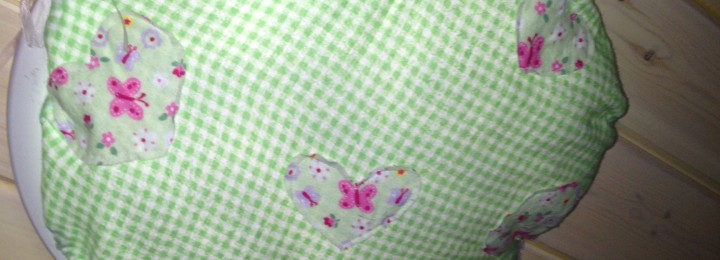
I don’t know about you, but when the days grow longer, the sleeping gets less and less. (It gets light around here at 6 AM starting in June!) Allie has a sky light in her bedroom. It’s her ONLY natural light! (There are no windows in this “library / office-turned-little-girl’s-bedrrom”!) I wanted something “girly” to cover the sky light… something that could be removed easily but that would provide “covering” and still allow a “Princess” her “beauty sleep” from time to time!
I thought and thought… How to do this? I wanted it to go with her decor and be in keeping with the frill (pink, butterflies, and flowers!). But what to do?
Finally, the plan was set. The few supplies gathered. And voila! A sky light cover for a princess… BORN!!!
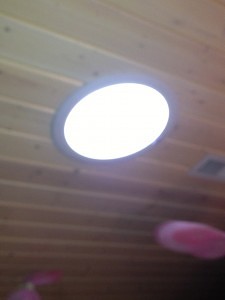
Here is the sky light in Allie’s room. It provides nice natural light by day, but is an annoyance at 6 AM!!!
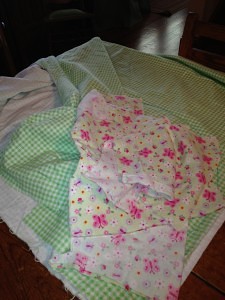
First, I chose some fabric. The green and white gingham was the base, with the butterfly / floral fabric for “embellishment” — all flannel!
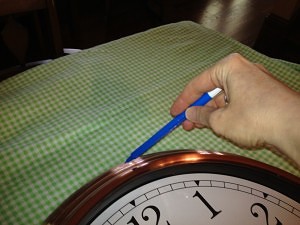
I found an item (clock) in the house that was the correct diameter to cover the sky light in Allie’s room.
I traced the clock with a washable marker on the fabric.
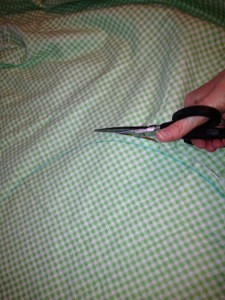
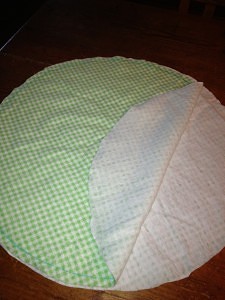
I then cut out the circle, with a slight “seam allowance” — not perfect but an approximate.
I cut out two pieces, having folded the fabric prior to tracing / cutting. I need two exact pieces for this project.
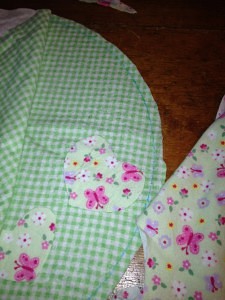
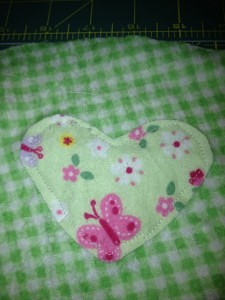
I embellished the gingham fabric with easy fabric hearts in coordinating fabric.
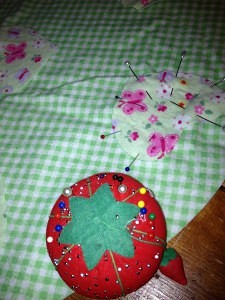
After cutting out the desired “embellishment,” pin them for security during sewing.
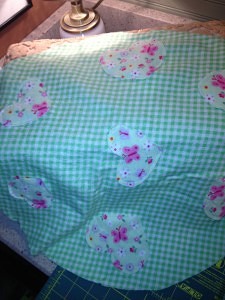
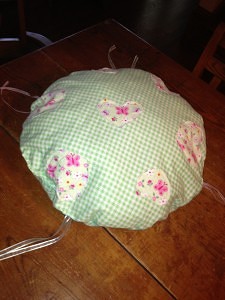
This will be similar to the finished product.
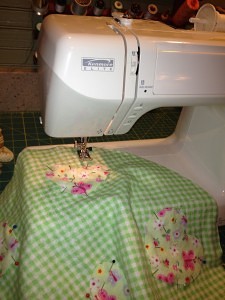
Now it’s time to sew the embellished “hearts” on the front side of fabric.
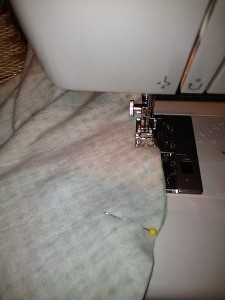
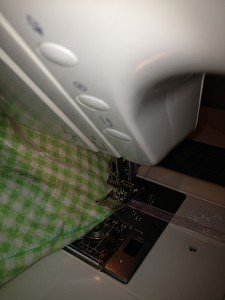
I use a standard straight stitch on my sewing machine.
A simple straight stitch around each of the hearts.
All hearts sewn on, now it’s time to sew the two circles together…
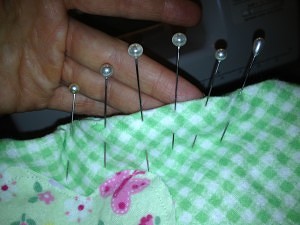
Pin the two circles together — right sides facing / inside pieces facing out.
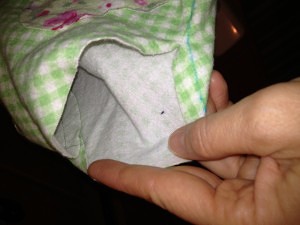
Sew at the 4/8 mark (or so) around the circumference of the two circles — leaving an opening of about 6 inches.
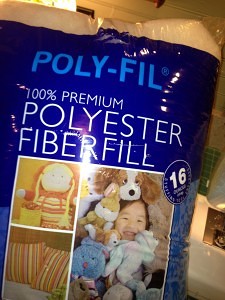
After sewing, turn right side out and prepare to stuff with polyester fiber!
Can be found at sewing / fabric stores, craft stores, or Walmart!
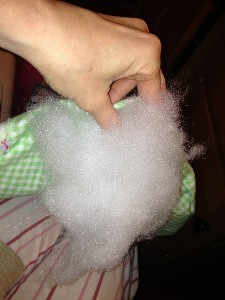
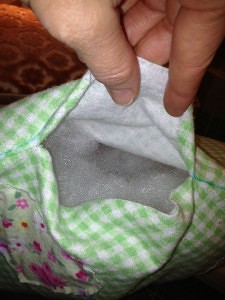
Stuff lightly with polyester fiberfill. Not too fluffy!
A nice “not-too-fluffy” pillow!
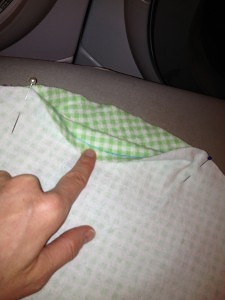
Now will have to hand sew the 6 inches of opening. Pin first.
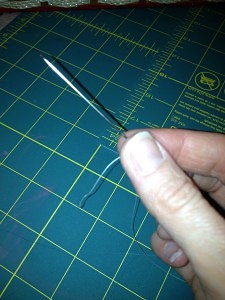
Choose an appropriate needle and coordinating thread for this simple job.
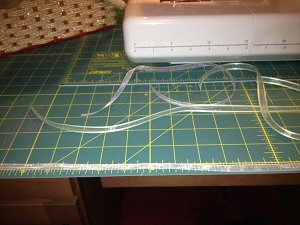
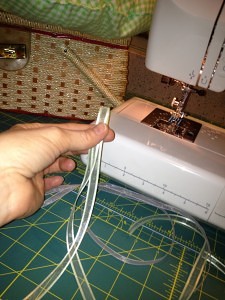
After the opening has been sewn closed, cut 4 -6 pieces of coordinating ribbon (18″ in length).
Fold the 18″ pieces of ribbon in half and sew with a straight stitch at four equally spaced positions around the circumference of the pillow at the edge (at “12 o’clock, 3 o’clock, 6 o’clock, and 9 o’clock” positions).
Sewn like so…
Voila! (I used four, but 6 would add extra security!)
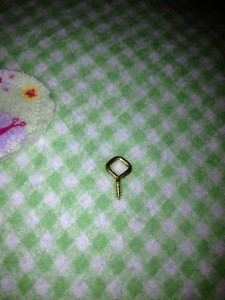
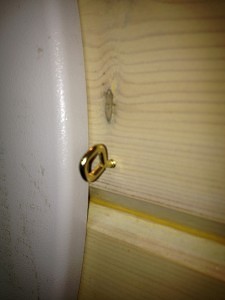
I used this type of “screw-in” bracket. (Don’t know the technical name!) I needed four of them — one per ribbon!
The four brackets are screwed into the ceiling at the positions where the ribbons on the cover will easily fit.
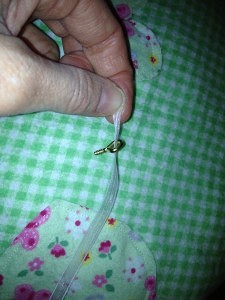
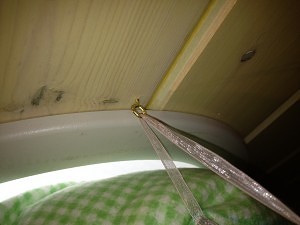
Thread the ribbons through the brackets. (Do this AFTER the brackets are fastened to the ceiling; although not shown here!)
Like this! Thread through and tie for security!
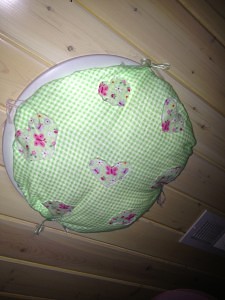
Allie has a sky light cover that is pretty and offers covering — thus, adding to her “beauty sleep”!!! (And her Momma’s sanity at 6 AM!)
Leave a Reply
You must be logged in to post a comment.

